
Chapter 23
Submitting to App Store
Our last task is to get COSMOS on the App Store. Seriously.
Chapter 23 Contents
The final task is to submit COSMOS to the App Store. There are a bunch of steps to get the app ready to upload, and even more once it’s up on iTunes Connect.
I’m just going to do this as straight shot and document as I go along.
Profiling
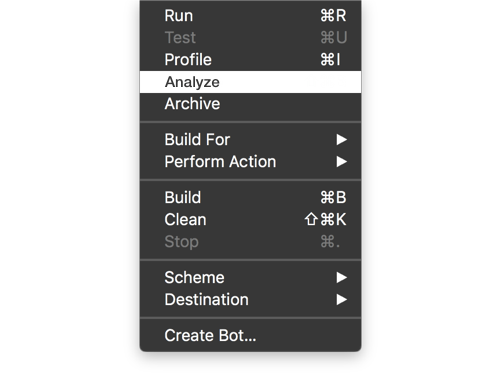
My first step is to profile the application. From Xcode, instead of building I hit
CMD+I
…Or choose: Product > Profile

This opens up Instruments.
I choose the Allocations tool and run the app.

The app opens and I play around with it a bit. Then I stop profiling and have a look at where allocations are going, how many there are and so on…

I interpret this as this:
- I see that there are a lot of total MB allocations, but only 31.5MB persistent. These allocations are in All Heap & Anonymous VM.
- I drill into All Heap & Anonymous VM and sort the allocations by size.
- The top allocation is 16MB, but this looks like some kind of system thing, so I leave it alone.
- After this it looks like there are a few pictures, an audio file and then the allocations drop off to tiny sizes (by line 11 they are all less than 100kb)
- I know I have a big launch image, and tons of small star images, plus the vignette, etc. So, 31MB isn’t a concern for me… and I move on.
I run Leaks and see nothing of interest.
I analyze the app, and Xcode doesn’t warn me of any potential problems…
So… I’m quite convinced that I should now upload to the App Store.
iTunes Connect
I sign into iTunes Connect using my developer ID and I select My Apps.

Then I create a new app…1

I start filling in the required information…

… but when I get to the Bundle ID section, I remember that I haven’t code-signed the current app yet.
App ID & Profile
So I log in to my developer account and create a new App ID…

… whose identifier is com.c4ios.COSMOS.

Then, I create a new provisioning profile for distribution to the App Store…

…whose app ID is the one I just created…

Xcode
I head back to Xcode, where I open the preferences menu and then access Accounts. I double-click on my main account and find that Xcode now sees the new profile I just created online.

I click the little download button next to the profile and when it has installed, I navigate to the project’s Build Settings and in the Code Signing section I change the profile to COSMOS…

Then, I change the code signing identity to my main account…

Then I attempt to Archive the project. But I get a build error that says my Bundle Identifier is wrong.
So, in my project’s .plist I change the bundle identifier to the same one as in my provisioning profile…

… and do the same in the Packaging section of the project’s Build Settings…

I archive again, and get yet another error that says:
Entitlements file do not match those specified in your provisioning profile.(0xE8008016)
So, I do a search on how to resolve this and find a good answer on Stack Overflow…
I then go back to Xcode and update the Capabilities section of my app to include both Game Center and In-app Purchases…

…which makes sense because I remember seeing these two options as default for the App ID I created (I couldn’t deselect them).

So, I archive again…

This time with success. But, when I upload to the App Store I get this error:

So, I update the settings to version 1.2…2

I archive and upload again… And, it seems to be working! 3

Then, after uploading I finally get another warning…

Which I think only means that, since the app uses custom C4 api, someone has to review the app because the robot on the other end isn’t smarter than a human being, yet.
iTunes Connect (Again)
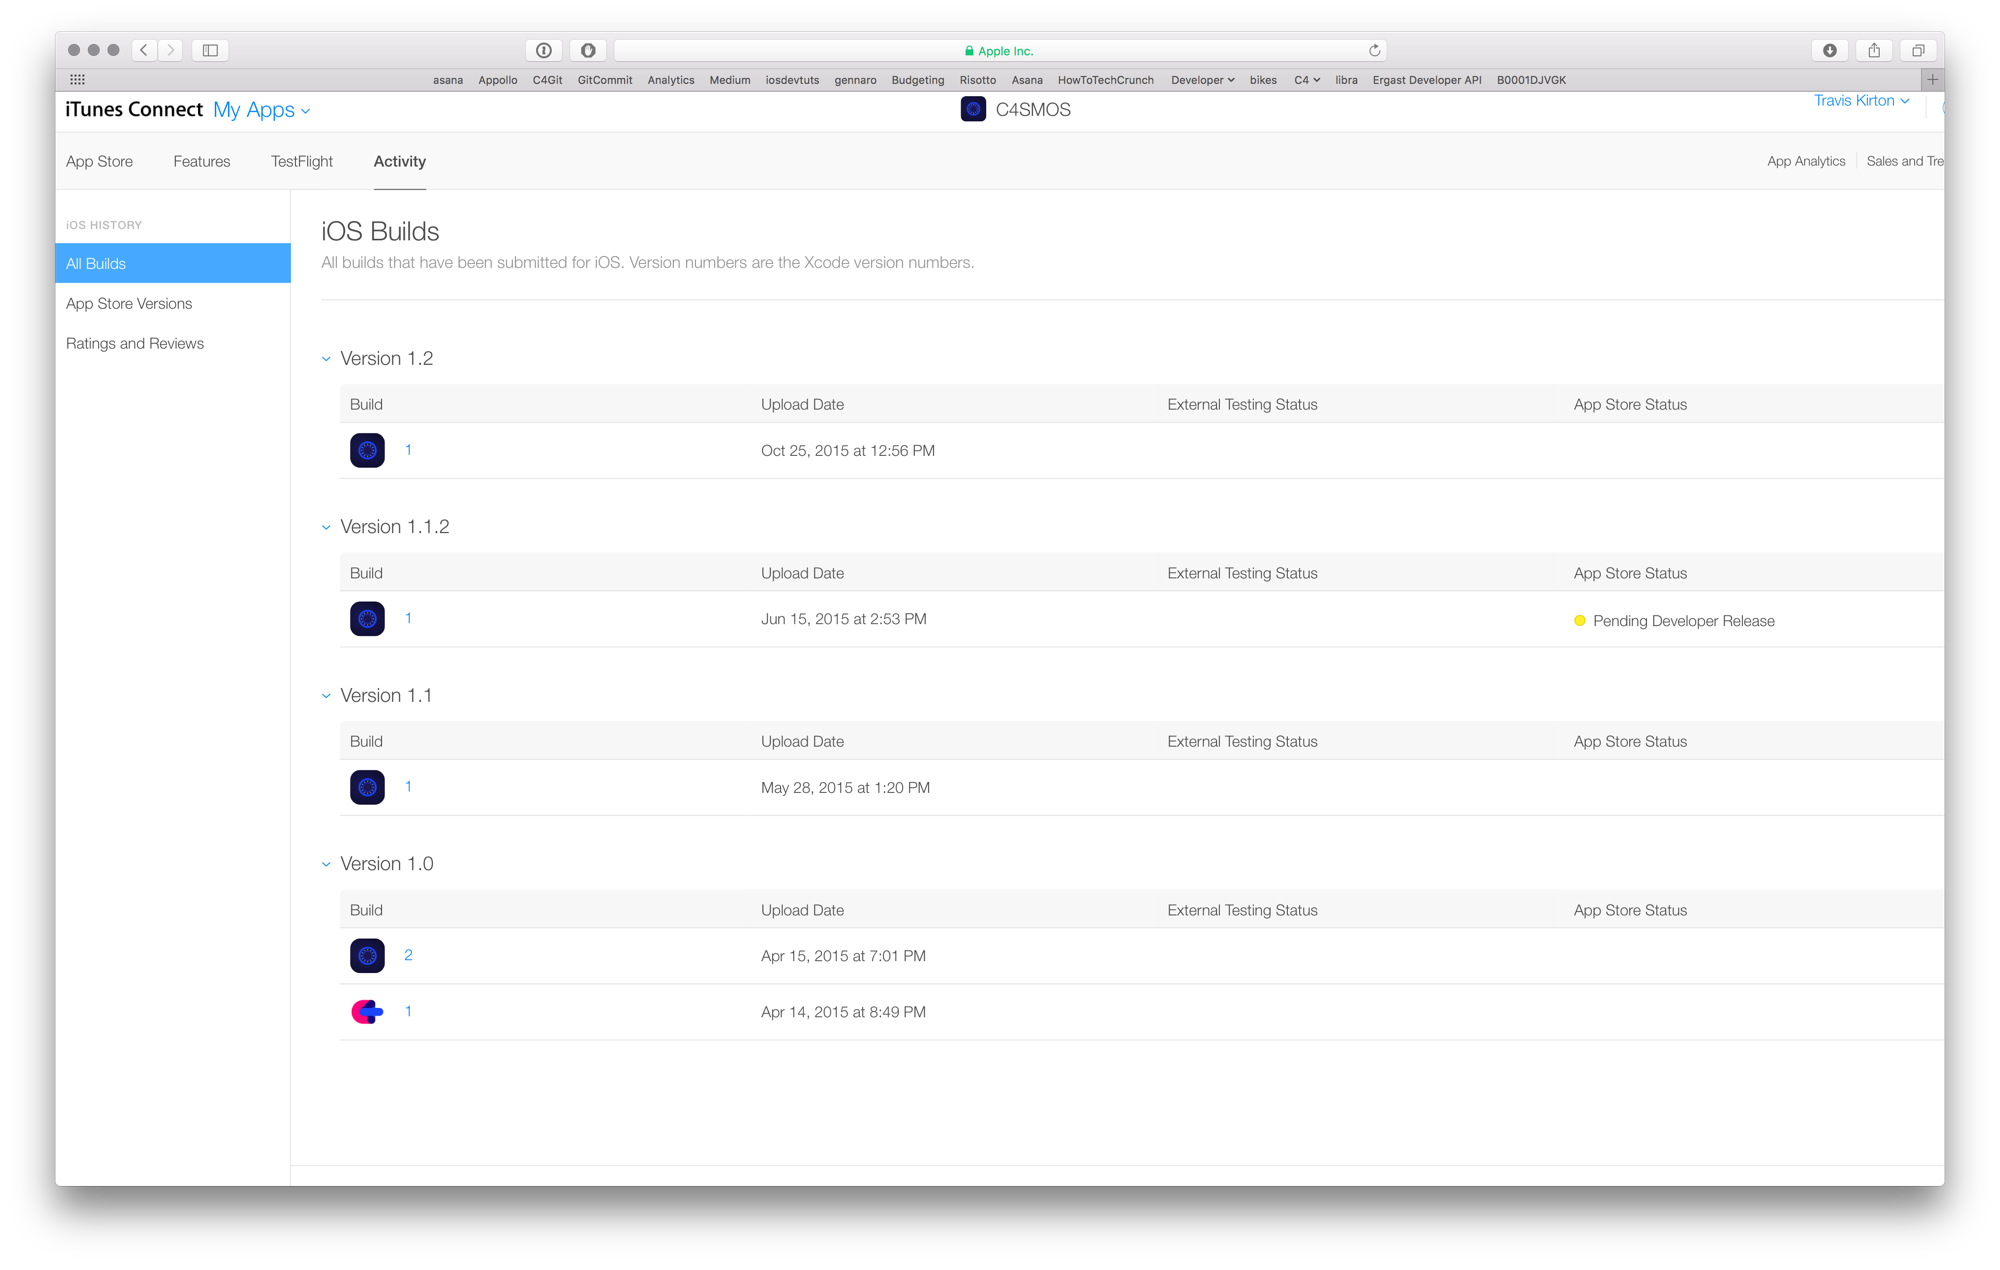
So, I log back into iTunes Connect and check the build status of my newly update app.

It says it’s “Processing”, which I don’t fully understand… Except that I have to wait a while.
So, I start writing out this step-by-step process.4
And, when I got to this point in my write up I checked again and the app is no longer processing:

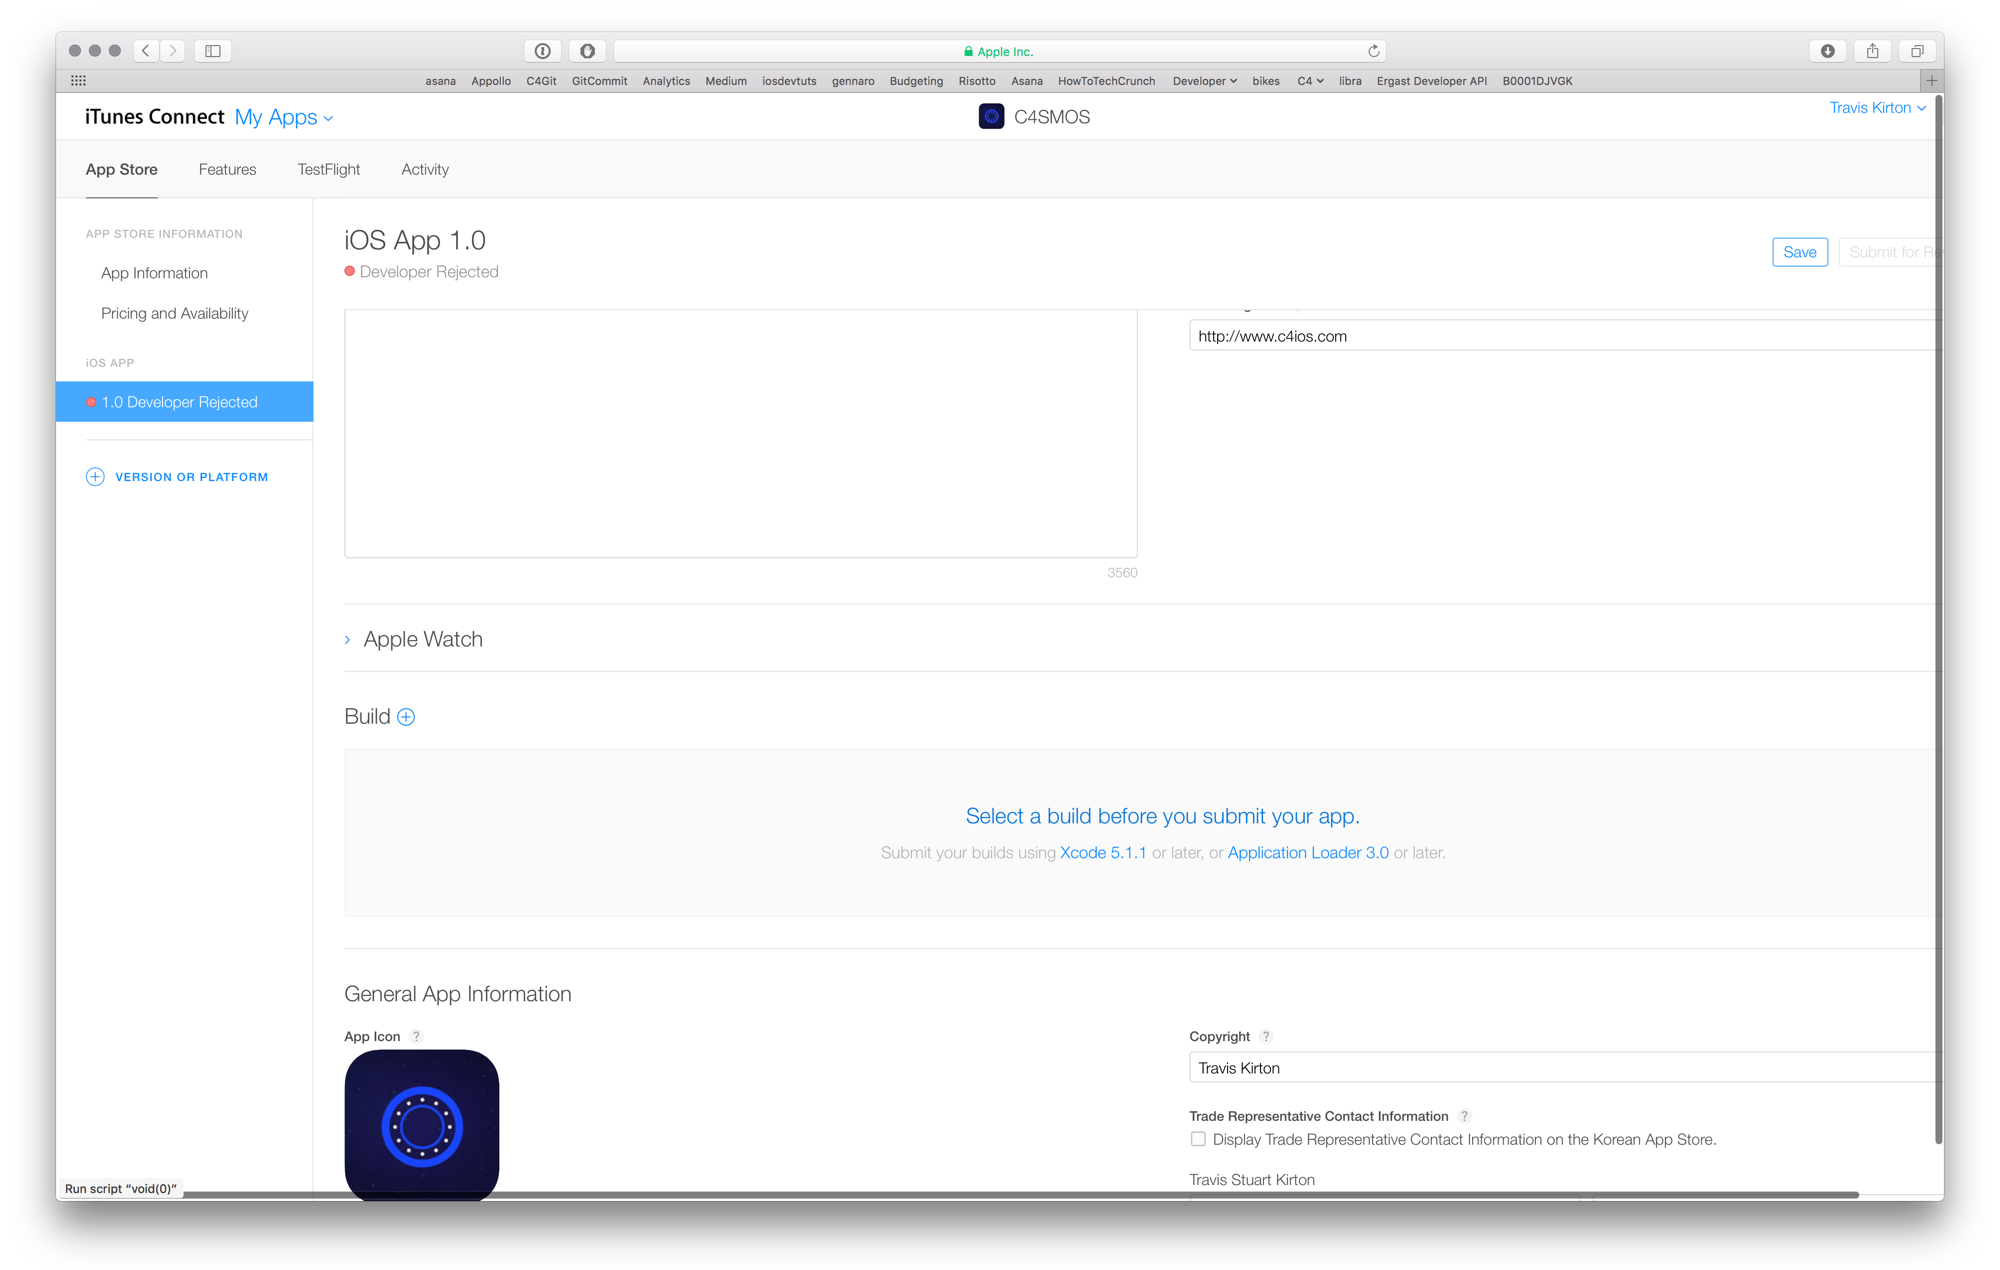
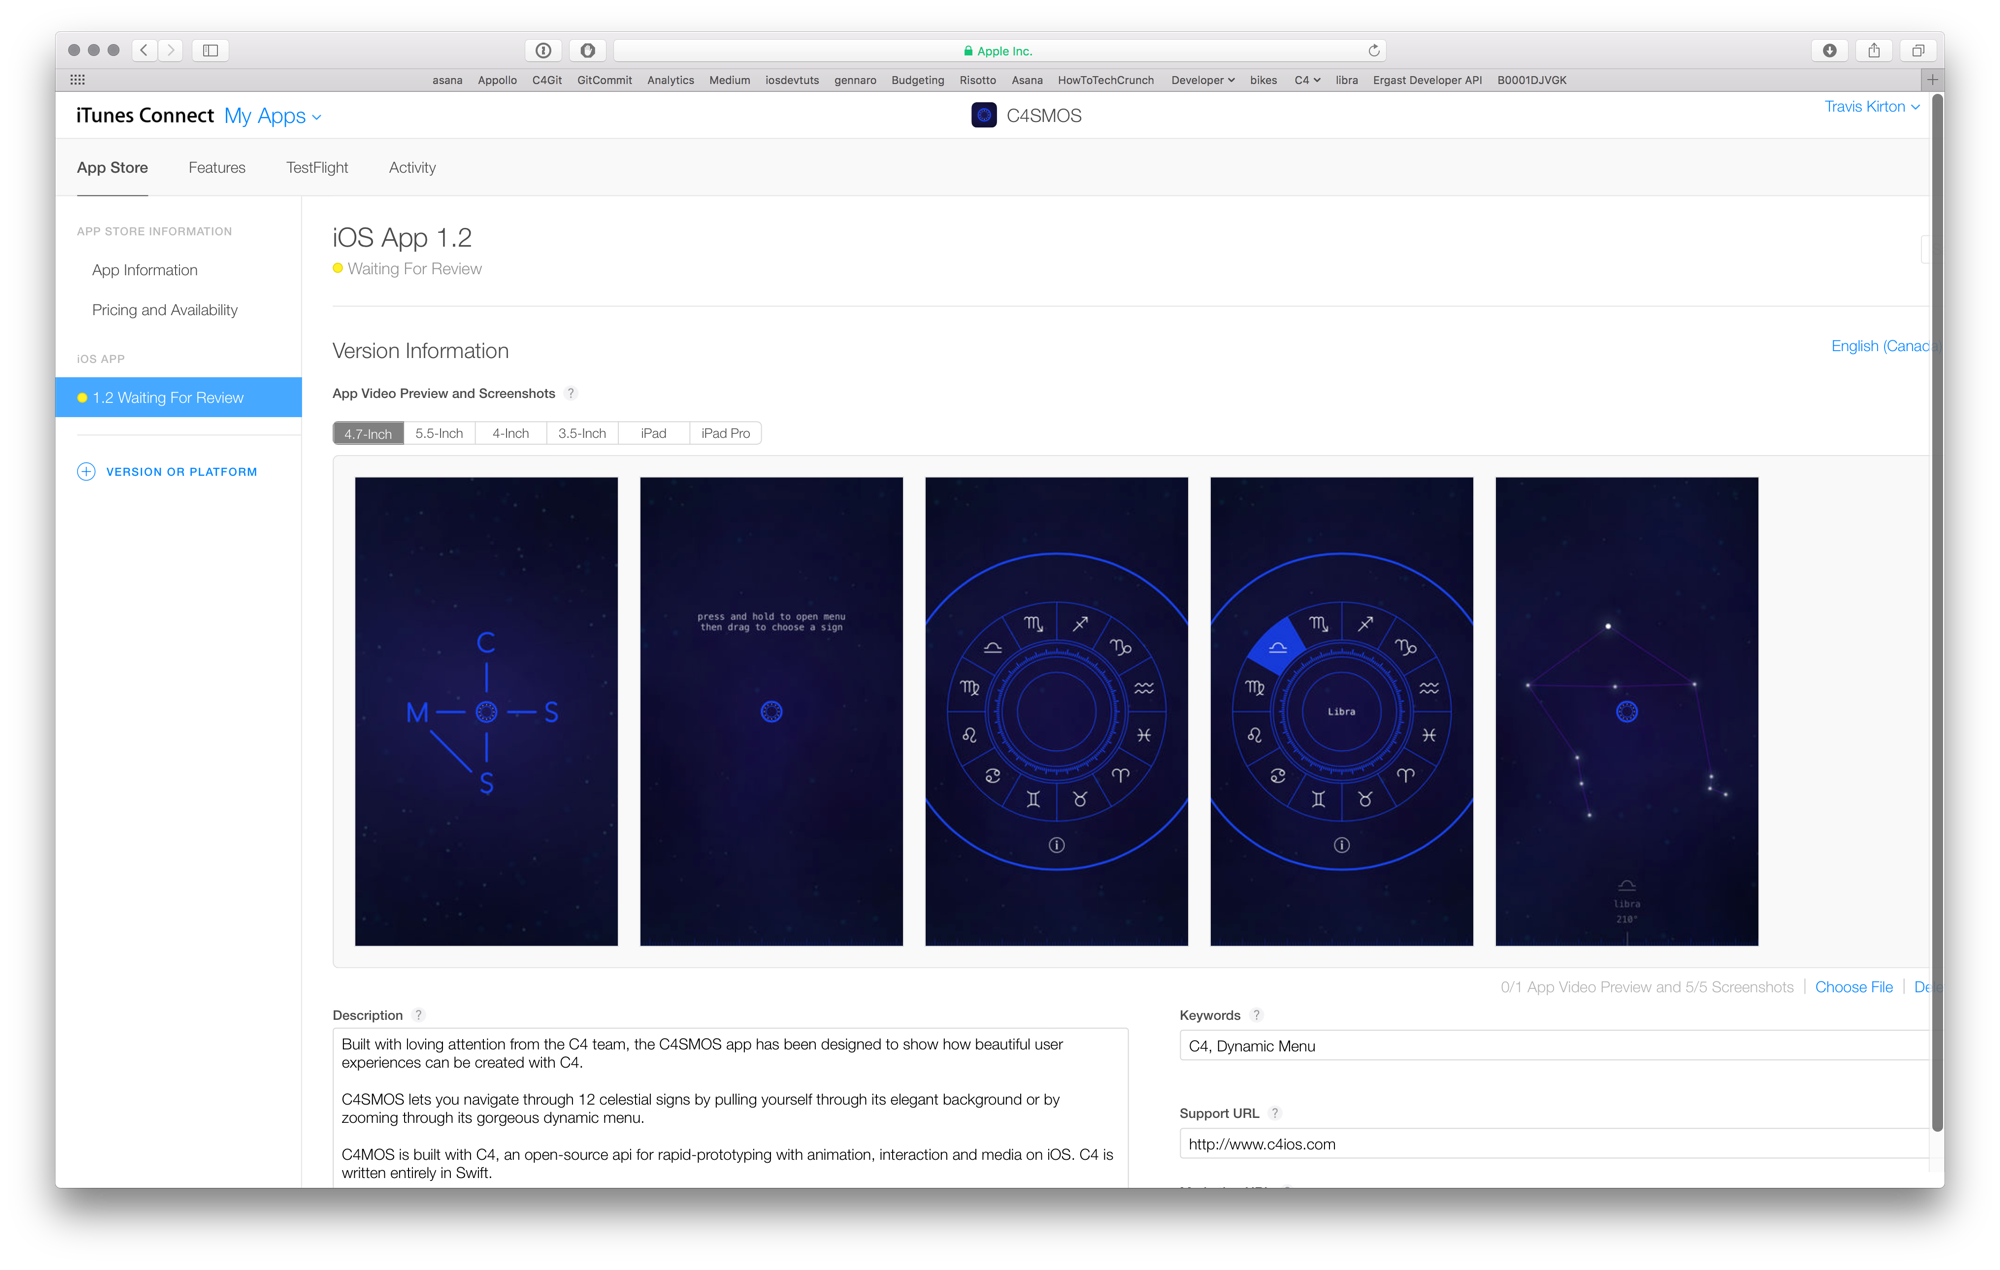
I select the new build, and update the Test Information.
I then reject the old version of COSMOS, and select the new build from halfway down the App Store tab…

Then, I edit the version to 1.2 and submit for review.
After a couple of confirmation dialogs the app is up and waiting for a human being to approve it.
It’s Sunday afternoon…